How to Build a Room Addition on Your Own in Los Angeles
Published by David Tali en 06/10/2018
Noah’s Ark was actually a DIY project and while he may have gotten some free labor from his wife and kids he also got some help from above if the biblical account is correct. Similarly, adding a room to your house as a DIY project may require some divine guidance for a successful result. On the other hand, even a steadfast atheist might cringe at the $50,000 and up cost that a qualified contractor will demand to build the new room and will opt to go it alone.
Common sense dictates that a room addition will require the efforts of more than one person. It also says that the work will require some basic construction skills and knowledge that can only come from experience and having the correct tools and equipment. The best approach here is to analyze the project phase by phase and determine what can be done by a DIYer and what is best left to the professional. At best the project is a hybrid with some DIY tasks as well as those jobs best left to a professional.
Phase 1 – Planning
DIY planning is safe in that no actual work has begun and thus, no damage has occurred. If you are decent at basic math skills, have a feel for spaces and shapes and have a good idea in your head what the room will look like, then you can plan the room size based on the probable layout of furnishings that will be in the room. If you don’t have the computer skills for this task, a few sheets of graph paper, scissors and a straightedge to draw lines will suffice. Simply make paper cutouts to scale (one square on the graph paper equals 1 square foot of room area for example) and overlay them on another sheet of graph paper. The cutouts represent beds, dressers armoires etc. and then you can sketch the walls, closets, windows and doors around the furnishings. If you are planning on having a king size bed, then the need to add a few extra feet to the length and width of the room will become evident.
Phase 2 – Demolition and Site Preparation
Destroying stuff can be fun, even therapeutic in a construction project and is easily a DIY task if you have the strength and safety equipment to do the job. Even if you do hire a contractor the demolition may not be included in the contract. Other site prep jobs will be to remove any obstructions like a tree stump or a large stone where the new foundation will be.
Phase 3 – Construction – Foundation and Framing
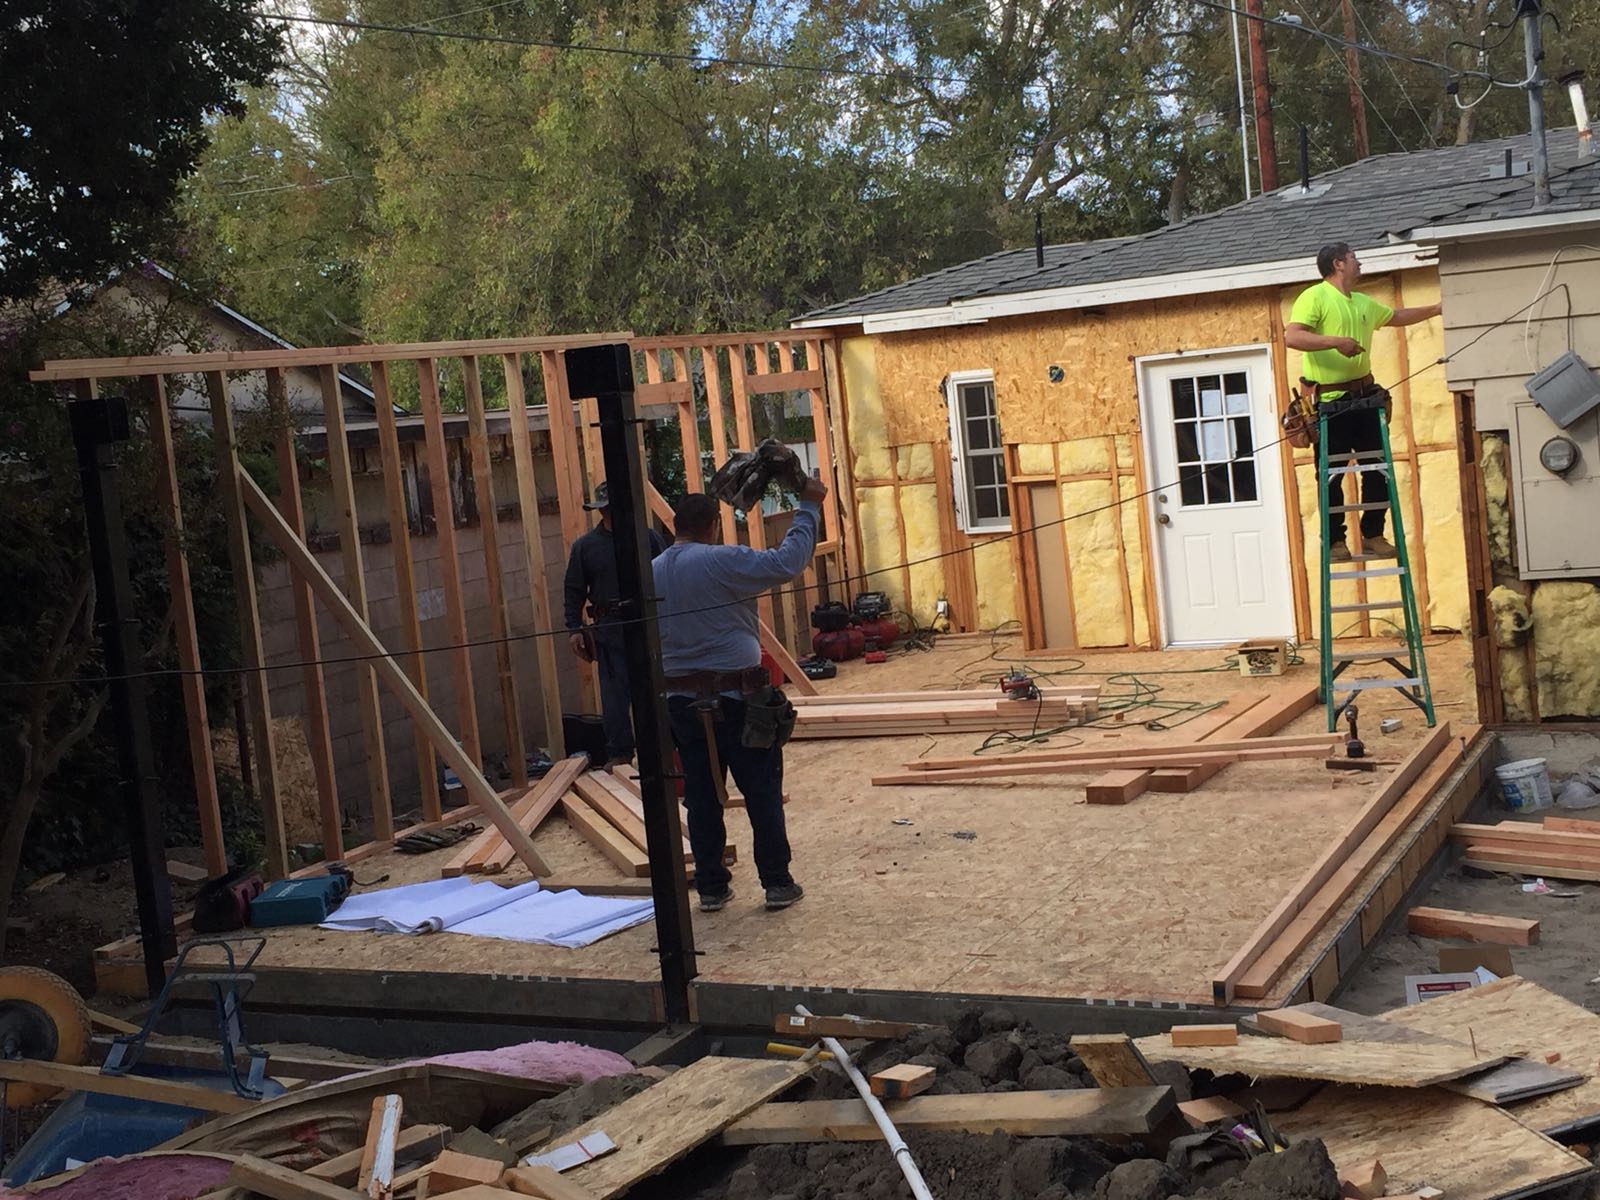
This is where a DIYer will need the help of workers and craftsmen. A foundation will be laid and will be inspected at some time. This is not a DIY task. God helped Noah keep the ark walls aligned properly but you will probably not have his aid on your room addition project. If you have an unemployed brother-in-law, then enlist his help.
Unskilled workers can still do some tasks but if you have a skilled friend who is willing to help, then all the better. Your savings will come from not having to pay a contractor’s lead foreman as this is a role that you can assume if you have the personality to handle craftspeople. Carpenters, electricians, plumbers and other skilled labor have been known to artificially extend a job and will get their pay regardless, so be sure to remain on good terms with them. Respecting them as professionals will usually yield good results.
Phase 4 – Drywall and Finishing
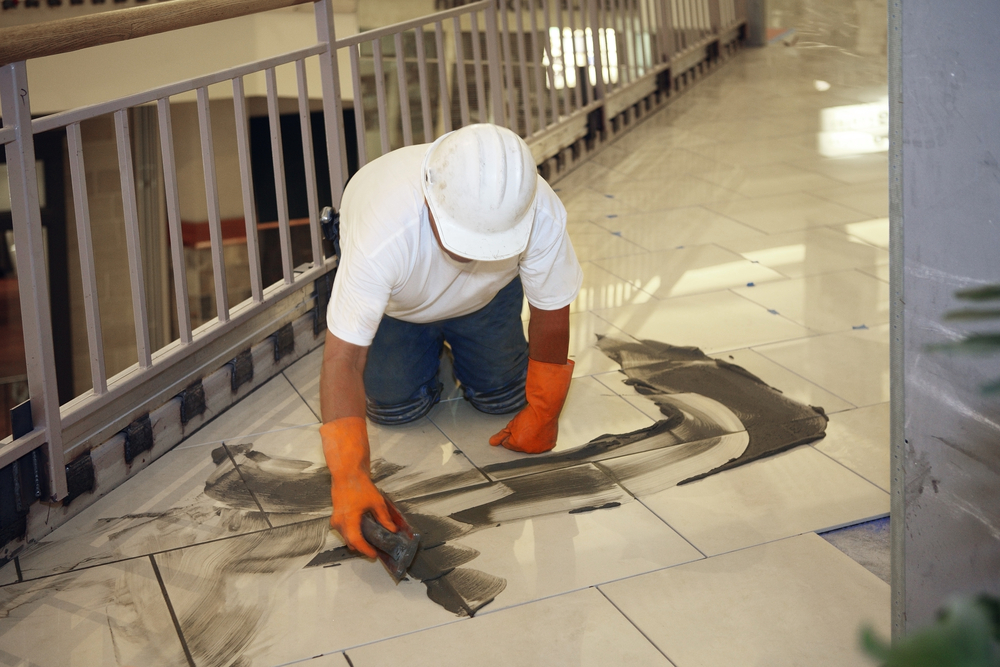
Once the frame is built, the exterior walls and roof are in place, plumbing, HVAC and electric work is complete the job can once again be more of a DIY job. This will depend on your willingness to invest the time needed for some labor-intensive tasks like applying insulation, drywall, laying a floor, painting and trim work.
Phase 5 – Clean up, Move in and Celebrate.
At this stage of the project you should not need any more skilled labor, but you may need some muscle to move the furniture into the new room. Prior to that you will need to clean and dispose of any remaining construction debris and take care of any “loose ends” remaining to complete the addition. There may be some landscaping issues that you can take care of eventually, but these are usually not urgent matters. The final thing is to tell your kids the story of Noah’s Ark and ask for some heavenly assistance on your next DIY project.
Categoría: How To


